

Reclaim Your Reading: On Curating a Personal Digital Digest
A simple strategy for focused reading in a scattered world

Dear friends,
In a recent post, I briefly described my practice of creating my own PDF “magazines” of culture and ideas by assembling various items of interest that I come across in my online explorations. I explained that this method of curating and capturing good things has helped me to manage the challenge of maintaining an ever-growing backlog of things that I want to read but never seem to get to.
Here’s what I said:
I have started electronically printing/saving items of interest as PDFs. This retains nice page formatting with headings, pull quotes, and so on. I save them until I have a hundred or more pages batched. Then I combine them into a single PDF, to which I give the filename “Reading Digest” plus the date of creation. I transfer the file to an e-ink device, in my case a reMarkable 2. And voila, I have my own self-curated magazine of ideas and culture. Reading e-ink is a joy anyway, far better than backlit screens, and with my reMarkable I can highlight, annotate, and otherwise mark the texts to my heart’s content. I have been finding that I consistently read a thousand percent more of the items I want to read by using this approach.
Some of you asked if I would provide a more detailed explanation of this practice for people who aren’t very tech savvy, including a step-by-step description of my process for creating those PDFs. I’m happy to oblige, though I’ll mention up front that, for the tech savvy among you, my process is quite basic, and perhaps laughably so. It’s also intensely manual in contrast to some of the automated solutions that already exist in the form of, for example, browser extensions that will take a set of tabs and export a compiled epub for you. I have tried those things and found that the basic and manual approach I’ve cobbled together for myself works best for my own sensibility and purposes. In fact, I think this very quality of hands-on simplicity and active engagement with the curation/creation process is part of why it works for me.
As I said, I’m happy to explain it to you. First I’ll explain the process itself. Then I’ll say something about how and why this approach has significantly enhanced my life as a reader in a largely digital world.
How I Create My PDF “Magazines”
1. Create PDFs from webpages
Creating a PDF from an online article or essay is as simple as printing it. The thing is, you “print” a PDF instead of a physical page.
Just proceed as if you’re going to print the piece physically. I use a laptop computer for all of this, so that means I press Ctrl + P on my keyboard or choose Print from the browser’s File menu. If you’re reading on a phone or another non-laptop device, your process will be different.
This brings up the print dialogue box, where you can specify which pages to print, whether to print in black and white, and so on. The print dialogue box is also where you can choose to print as a PDF instead of sending the item to a physical printer.
See the image below for an example. It’s a screenshot from when I was creating a PDF of an online essay at Aeon magazine titled “Laboratories of the Impossible.” Note that I use the Firefox browser on a laptop running Windows 11. If your browser or OS is different, then your own print dialogue box may look different than mine. The key is in the “Destination” section on the top right. (Again, this may be different on your device.) As you can see, this provides a dropdown menu of different printers, or rather print drivers, that I can select from. My browser currently has three PDF printing options: Save to PDF, Microsoft Print to PDF, and PDF24. All work fairly well. I generally default to PDF24, which is a free PDF management program that I’ve installed on my laptop, and which I’ll say more about below.

Just choose one of the available PDF printing options. Then click the Print button, located at the bottom right in the image above. Depending on your browser’s configuration and which print driver you’ve selected, clicking Print will save the PDF to your documents folder, or your desktop, or somewhere else. Or for some PDF print drivers, clicking Print may call up another dialogue box asking you to give the file a name and specify its destination. In any case, this will save the article/essay you’re wanting to read as a PDF on your computer.
A few notes about fine-tuning your PDFs:
Look at the print preview before actually printing/creating the PDF. You’ll sometimes find that text from a webpage doesn’t want to appear in print-friendly form in a PDF. You can catch this in the print preview image that shows up in the print dialogue box before you actually create the file. For example, sometimes you’ll see that the essay/article appears with letters or whole words clipped off at the right margin. In such cases you can experiment with the Scale control in the print dialogue box (visible in the image above) and set it at something less than 100 to see if this helps. Or you can try another print driver. Another potential issue is that the entire page formatting appears wonky, with headers, headings, or images all mushed together with the article and/or obscuring some of the text. For example, on some sites—3 Quarks Daily comes to mind—whenever I print from them, the title banner from the top of the webpage prints on every PDF page, obscuring some text. I find that in some of these instances, Microsoft Print to PDF works better than PDF24 to create a clean format. In other cases, I have to use the Print Friendly plugin/extension to get a clean PDF. This means I have to switch to the Chrome browser, because this extension is only available there (you can install it for free from the Chrome Web Store). The Print Friendly plugin enables you to strip out any element that you want to remove from a webpage before you print it. I only use this approach when I have to, because the plugin prints all webpages in a uniform format that looks pretty generic, whereas I really like to preserve original page formatting if possible to maintain a publication’s specific styling for logo, titling, section breaks, pull quotes, and so on.
When creating a PDF, you’ll also want to remove any extraneous pages that may appear at the end. Some sites generate these and others don’t. You can check for it in the Print Preview dialogue before printing. For instance, when I save PDFs from The Chronicle of Higher Education, there are nearly always three or four pages of junk at the end (product advertisements, links to different articles, and so on). I scan the Print Preview to look for this. Then in the Range field (slightly obscured by the list of available printers in the image above), I choose the “Custom” option and fill in the page range that I want to appear in the PDF. For example, if a quick scan shows that pages 12 through 15 are junk, then I enter 1–11 in the Range field.
2. Store PDFs until ready to combine them
I create a folder on my computer desktop titled “Reading Digest.” I store all these PDFs there until I’m ready to combine them.
3. Merge multiple PDFs into one
As I said in my original brief note, I wait until I’ve amassed at least 100 pages worth of PDFs. Then I combine them into a single “reading digest” document. If you decide to try this all out, you should of course choose your own threshold for when to combine documents. I’m not always consistent; the Reading Digest that I’m making my way through right now has more than 200 pages, and I presently have something like 300 more pages of PDFs waiting to merge when I finish reading my current digest.
There are several options for combining or merging PDFs. Adobe Acrobat has a built-in merge function, so if you have that software, you might try it. Or you can use one of the many free online services, such as Sejda or AvePDF, which will let you upload your individual PDFs and then download a merged version. You can also download and install a free PDF handler—one of the alternatives to Adobe Acrobat—like Foxit or Nitro PDF. My favorite tool in this vein is the aforementioned PDF24, which comes with a suite of available tools, including a merge function. It has both a free online version and a free downloadable version that you can install on your computer. I use the latter. To merge my separate PDFs into a single digest version, I just call up PDF24, click on its Merge PDF tool, drag and drop my documents into it as a batch, and click the Merge button. The software works for a minute and then gives me a button to download the result. I name the merged file “Reading Digest” followed by the date I created it. For example, if I created one today, its filename would be “Reading Digest 2025.01.10.”
4. Transfer the combined PDF to a device for reading
As mentioned, the device I use for my personal reading digests is a reMarkable 2, whose large screen and handwritten marking, writing, and highlighting capabilities make it a near-perfect analog of pen and paper when it comes to active/interactive reading. You don’t of course have to use the reMarkable or any other e-ink device. This all works just as well with an iPad or another standard tablet. You can even read your newly created “magazine” on your laptop or phone (though I feel sorry for your soul if that’s what you choose). But I really can’t recommend e-ink highly enough. I’ll say more on that briefly at the end.
One way to transfer a document from your laptop to your chosen reading device is to physically connect the two with a USB cable. Personally, I prefer to do it wirelessly, using reMarkable’s desktop app. The app syncs to the tablet, so on my laptop I just open the app and drag my merged reading digest to it. It takes a moment for the file to upload and then sync to my reMarkable, where it’s available to read. You can use your own approach, depending on your own reading device and other digital tech.
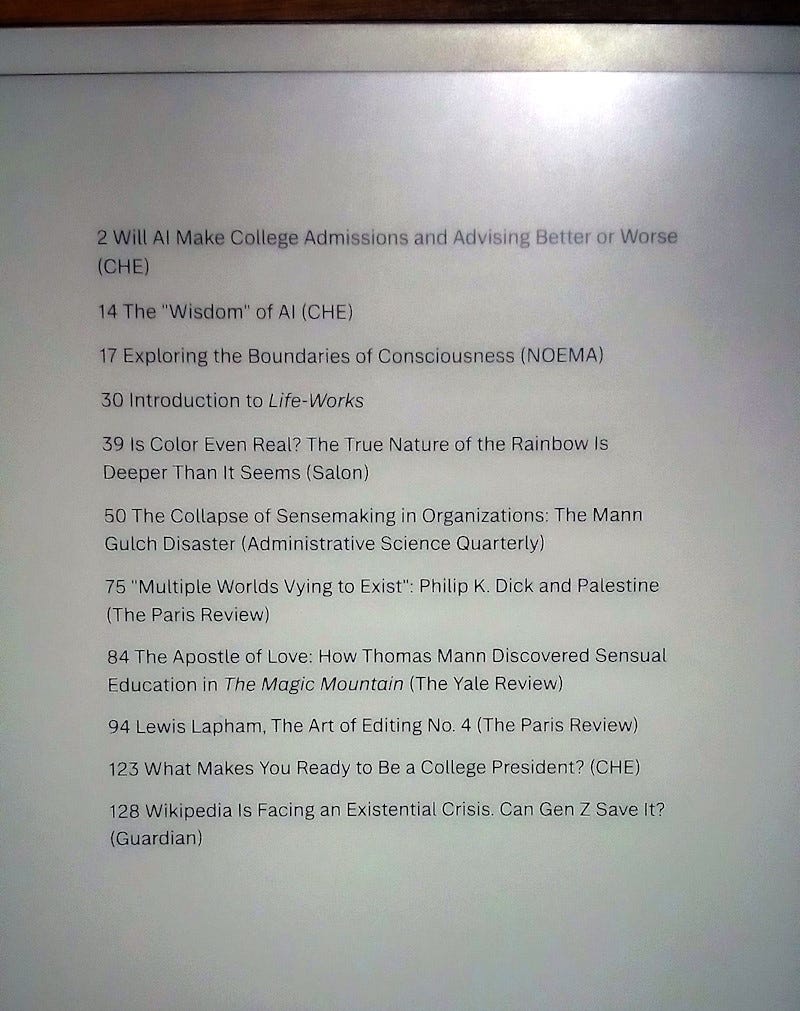
5. Create a table of contents
This is kind of an extra step. I generally create a table of contents at the start of the document. I do this in my reMarkable tablet itself by creating a new blank page in the PDF to serve as page 1, and then manually typing out the table of contents, including page numbers and the source of each article/essay. (I have the reMarkable’s keyboard folio, which enables typing on the device.) If you have Adobe Acrobat, you can use it to create a TOC before transferring the PDF to your reading device. But I just prefer to do this manually, as the experience helps to cement my mental map of what’s built into each digest.
A Look at the Finished Product
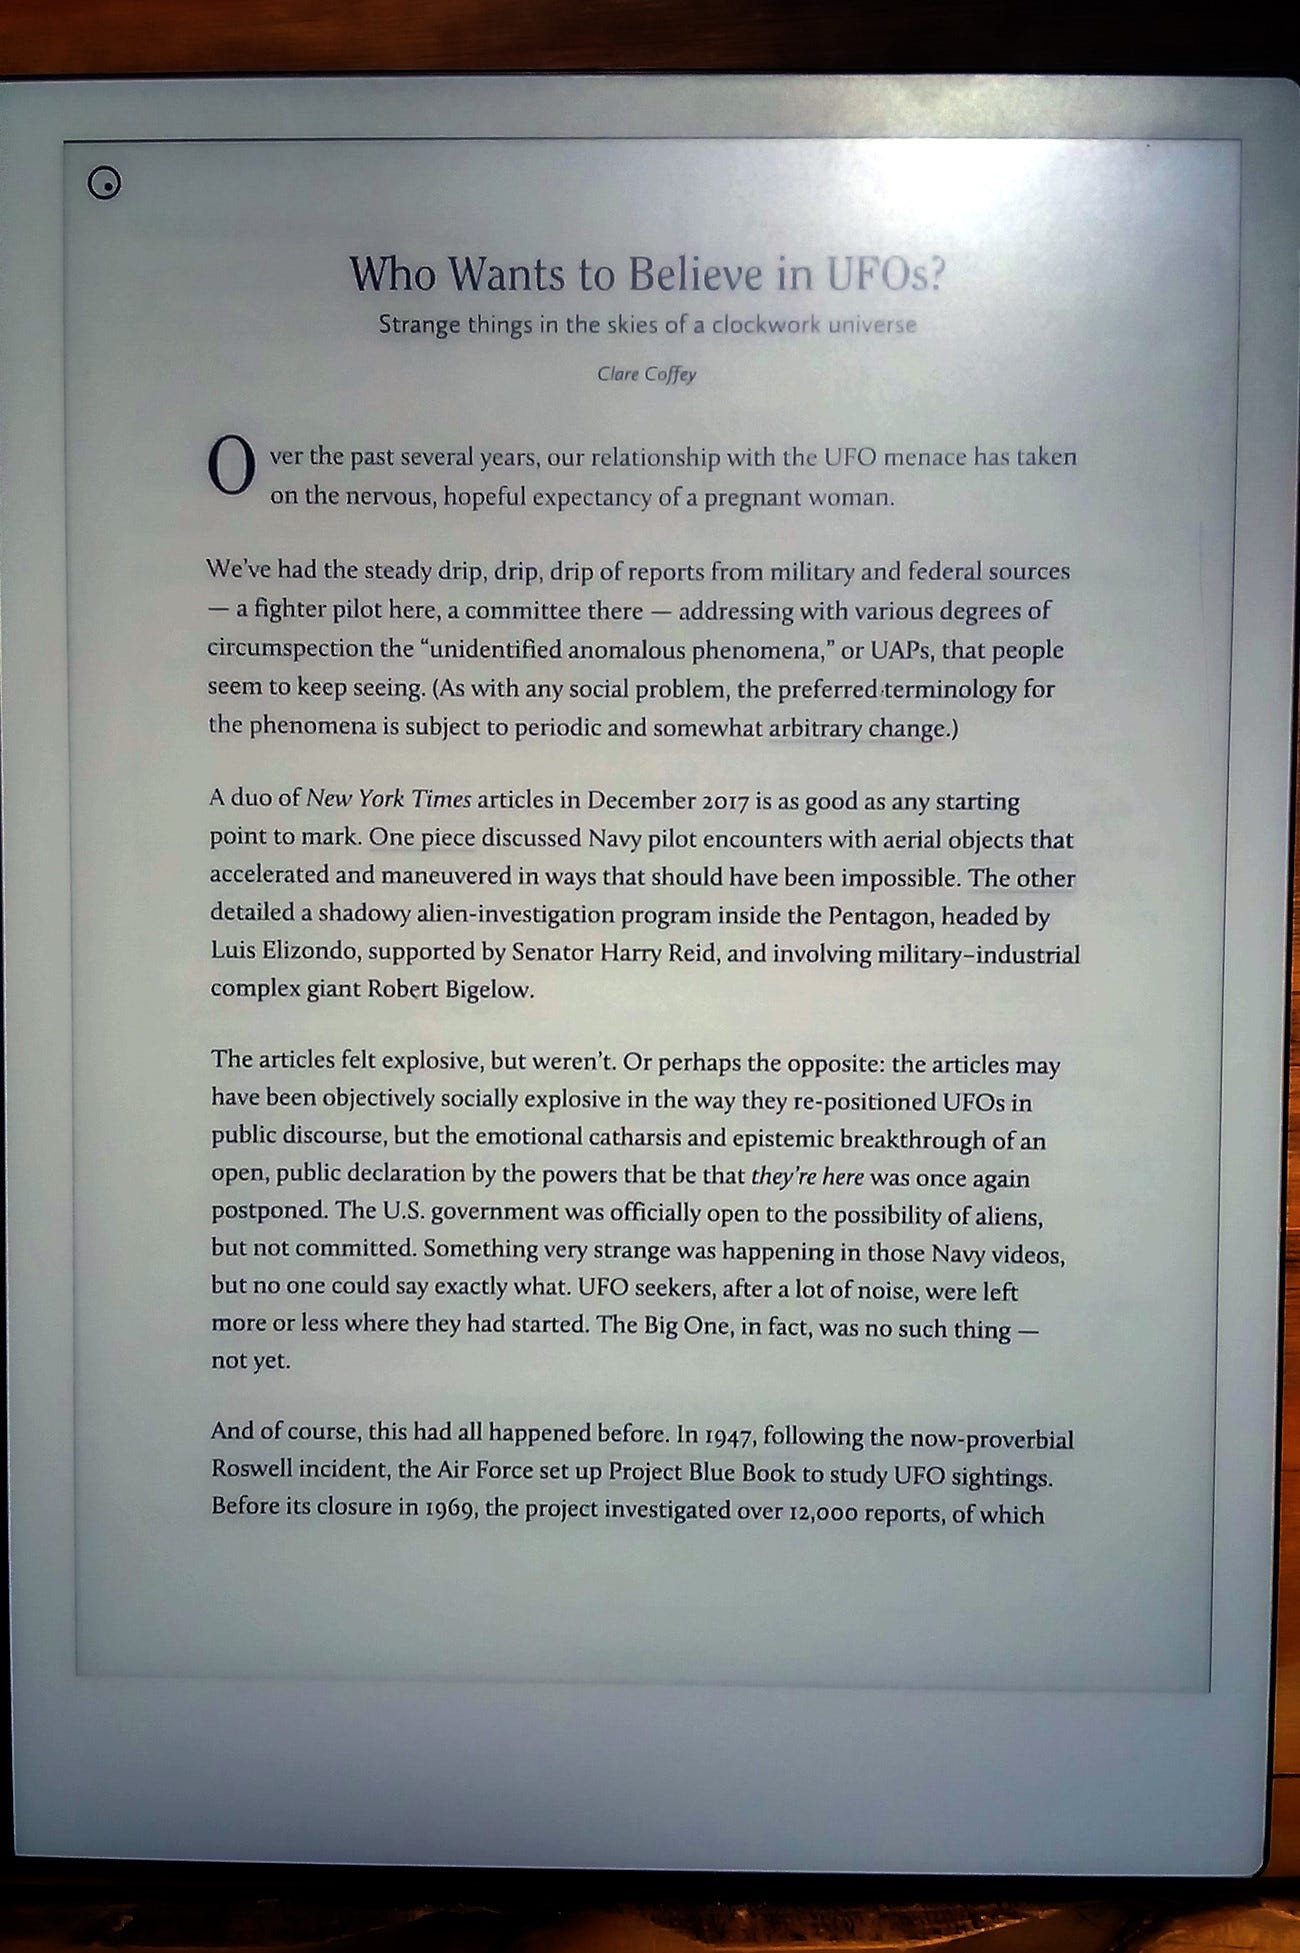
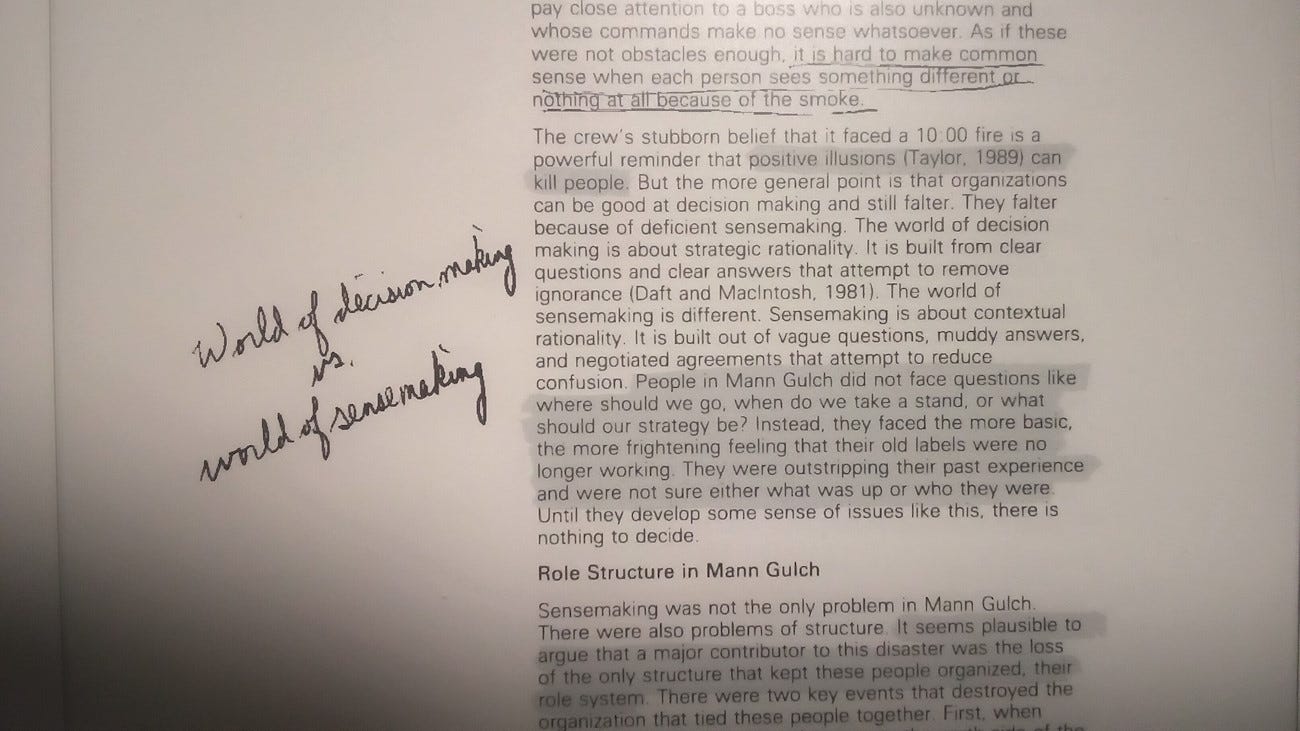
To illustrate the point and show how this approach yields result that look and work like your own personal magazine, here are a some photos of pages from a couple of my reading digests. Be advised that the photo quality is pretty low since my phone doesn’t have a good camera. The actual documents look much better in person, with crisp and vivid text and images. The variable lighting tone in the photos is also an artifact of my camera; in person the pages have a uniform brightness. The reMarkable is a grayscale device, so that’s why my textual highlights and the photos in the articles aren’t in color. The point here is simply to give you a look at an actual example of what we’re talking about creating.
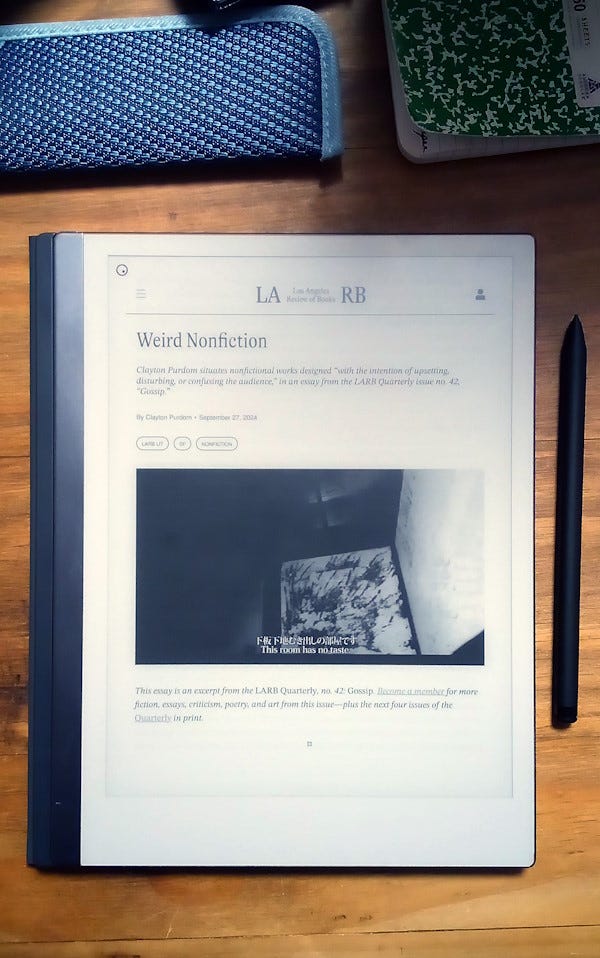
Here is the table of contents that I created for one of my reading digests. The items in it aren’t clickable hyperlinks to the actual entries. This is just a bare list of contents, serving as my own reference.
How This Approach Has Enhanced My Reading Life
As I said at the start of this post, somehow this practice of collating multiple items into a single PDF and then reading it on an e-ink device, where I can highlight, annotate, and otherwise mark up the pages up to my heart’s content, has proven kind of magical. Something about reading a single magazine-like document stocked with my own self-curated collection of contents unlocks a well of readerly motivation. Part of this effect has to do with the static page-based nature of a PDF, which is like paper. I grew up reading paper books. I love pagination. Reading documents divided into separate, static pages, especially on a paper-looking e-ink device, simulates reading a traditional book or magazine, as opposed to scrolling a live online article.
This whole approach is also distinct from using tools like Pocket or Instapaper or Send to Kindle to read separate, individual items later. I have used all these and more over the years for saving and reading things. And I have found that they simply compound the problem, at least for me. For whatever reason, when I save articles and essays to Pocket or transfer individual documents to a reading device, no matter how carefully I try to create and tend a tag or folder structure to save and organize them, I end up building the aforementioned backlog that, as I have discovered from long experience, I will never, ever manage to surmount.
By contrast, the approach that I have kind of intuitively stumbled into, where I intentionally assemble a single document with multiple items stacked up to read—and where the PDF format preserves their original attractive page formatting from the web versions, with headings, pull quotes, original publisher fonts, and so on—naturally motivates me. Maybe amusingly, one of the motivating factors is that whenever I’m reading through one of these things, I forget what all I’ve put into it. By the time I read the first or second entry, I’ve forgotten what else is in there and/or in what order the different articles appear. This means that as I continue reading and turning the pages, I’m driven onward not only by the inherent interest of the content, which I of course selected for myself, but by the anticipatory pleasure of finishing the current piece and turning the page to (re)discover the next one. There’s an ongoing pleasurable sense of progressing through the document on a quest to discover and remember the treasures awaiting me with each next item.
Another word about e-ink: It’s pretty wonderful. If you’re not already aware, the screen of an e-ink device like a Kindle, Kobo, Boox, or reMarkable looks very much like paper compared to a backlit LCD computer, tablet, or phone screen. It’s not only easier on the eyes but qualitatively different in the basic reading experience it provides. Short of physically printing out digital texts on paper—which I know some people still do, and which may be perfect for you—e-ink provides the closest possible simulation of reading electronic materials in a paper medium.
And this, really, is where the magic of the whole thing comes in. Reading “live” on the internet simply doesn’t work for me. I know it probably doesn’t work for you, either, because basically it doesn’t work for anyone. It feels frantic, scattered, rushed, distracted, no matter how much focused intent we bring to it. By contrast, capturing items of interest from the digital über-cloud that is the internet and the World Wide Web, and combining them into a single document that reflects your multiple personal interests, and transferring them to a calmer and more focused environment where the very medium encourages a sense of solitude, lucidity, and spaciousness—this makes all the difference in the world. For me, it has become an enjoyable way to reclaim my reading from the digital distraction-scape and take full advantage of the enhanced access to good writing and significant ideas that is now available to all of us.
I’ll remind you in closing that there is another way to handle things: You can always let go of any sense of pressure from a mounting backlog of potential good reading by simply deciding to read less. This is an always available and always viable option.
However, if you instead decide to try out my process, I’d love to hear how it goes for you.
Warm regards,

Well, this is a substantial improvement on my longtime method of keeping dozens of open tabs that I then inevitably lose at some point before ever getting round to reading them. Thank you for sharing this!
I can wholeheartedly agree with the approach you have dedicated yourself to. My own version is almost exactly like yours, the only difference that I can see off the bat being that I don't print my collections at 100 or any other specific number. Instead I have a monthly approach, which means I print my collections on the last day of the month, however big or small they may be. Whatever works is good, right?
(Writing "almost exactly" though it sounds like an oxymoron that shouldn't be written/spoken/or given life in any form, will be like a disturbing splinter in my mind for days. I will be poking and probing that thing like a tongue running over the sharp edges of a broken tooth.)